Notra User Manual (English)
1. Library (First Tab)
The Library screen appears when Notra is launched. It provides the following functions:
- Download documents from cloud storage
- Upload documents to cloud storage
- Create folders and move documents into folders
- Create new notebooks
- Link notebooks and documents together
1.1 Create a Folder
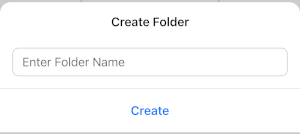
Select the Create Folder icon.

A folder creation pop-up will appear, allowing you to create a new folder in the current location.
1.2 Create a New Notebook
After signing in, select the New Notebook icon.

A new notebook is created, and the app automatically navigates to the Notes tab.
1.3 Download Documents
1.3.1 Select a Cloud Storage Provider
Select the Download icon in the cloud storage section.

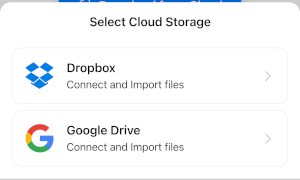
A pop-up appears prompting you to select a cloud storage provider. After selecting a provider, the cloud file browser opens.
Currently supported cloud storage services are:
- Dropbox
- Google Drive
Additional providers may be added in future releases.
1.3.2 Cloud File Browser (Dropbox Example)
The cloud browser works similarly to a standard file explorer. You can navigate through folders and select PDF or Notes files from the file list to download them into the Library.
Cloud connection information is used only temporarily while the app is running and is not stored. Therefore, you must reconnect to the cloud service whenever you restart the app.
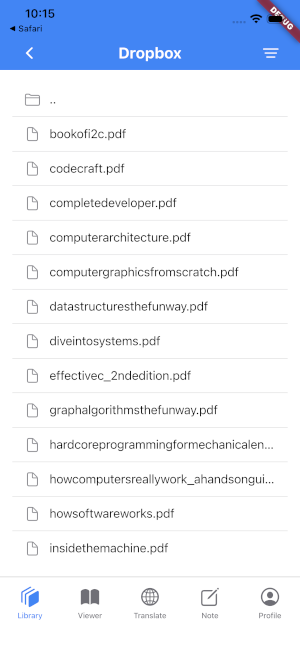
The image above shows a Dropbox connection.
1.4 Delete Files
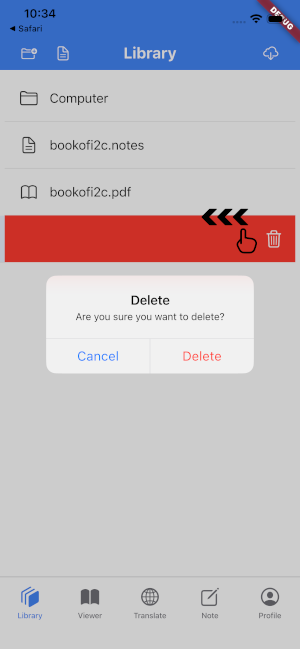
To delete an unnecessary file, select the file in the Library and swipe left. After confirming through the pop-up dialog, the file will be deleted.
1.5 View Details and Additional Actions
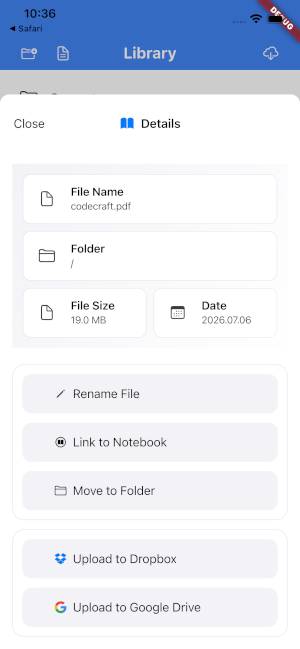
The Details screen provides information that may be difficult to see at a glance in the Library, including:
- File name
- Location
- File size
- Last modified date
You can also perform additional actions such as:
- Renaming files
- Linking documents and notebooks
- Moving files to folders
- Uploading files to cloud storage
1.5.1 Rename a File
Selecting Rename opens a dialog where you can enter a new file name. The file will immediately be renamed to the specified name.
1.5.2 Link to a Notebook
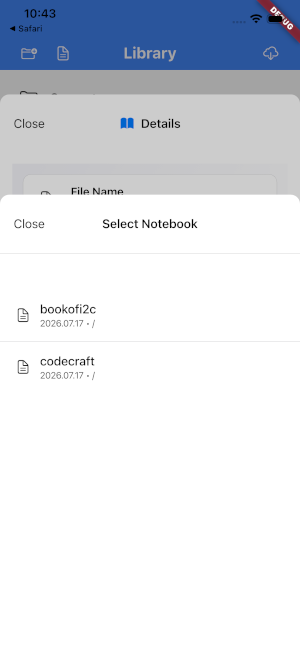
PDF documents display a Link to Notebook option in the Details screen.
When a PDF and notebook are linked:
- Opening the Notes tab while viewing a PDF automatically moves the notebook to the same page.
- Opening the Viewer while reviewing the notebook automatically displays the corresponding PDF page.
The linking system supports flexible relationships:
- One document can be linked to multiple notebooks.
- One notebook can be linked to multiple documents.
1.5.3 Move to Folder
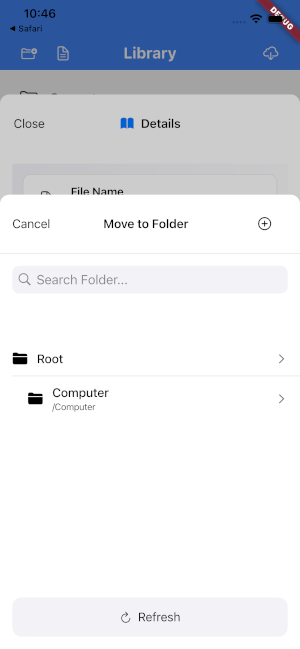
To organize files more effectively, create folders and move files into them.
Selecting Move to Folder displays a list of folders available in the current Library location. Choose the destination folder to move the file.
1.5.4 Upload to Cloud Storage (Dropbox, Google Drive)
To share notebooks created in the app or documents obtained elsewhere, first upload them to a cloud storage service.
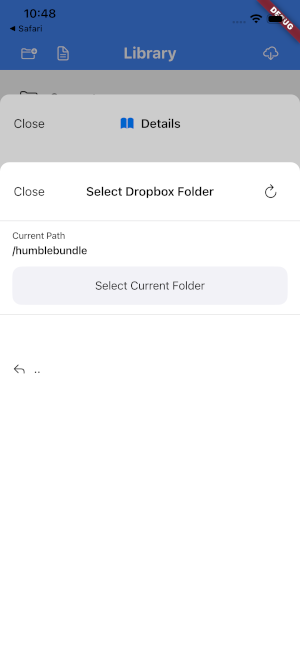
Selecting Upload to Cloud Storage displays available cloud folders. Choose a destination folder and the file will be uploaded automatically.
The example below shows Dropbox.
2. Viewer (Second Tab)
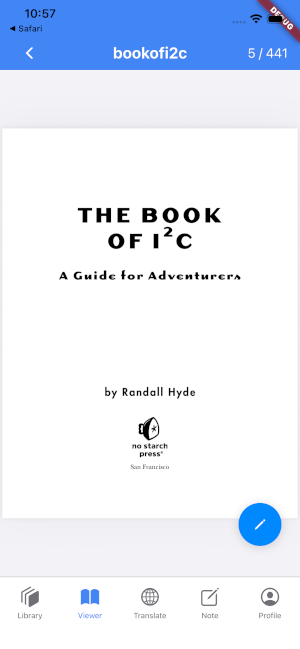
The Viewer displays documents selected from the Library.
It provides tools for:
- Reading documents
- Highlighting and annotating content
- Adding notes
- Navigating through the document using the table of contents
2.1 View Table of Contents
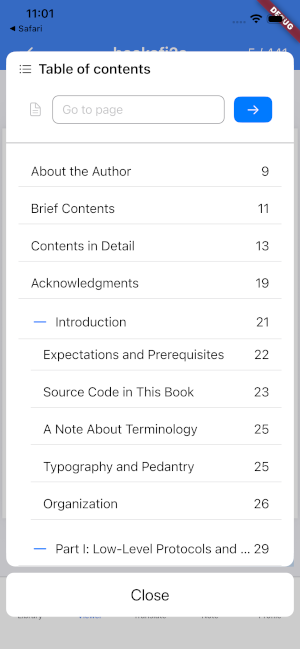
Tap the area displaying the current page number and total page count.
A pop-up containing the document's table of contents (TOC) will appear.
Features include:
- Tap - to collapse sub-sections.
- Tap + to expand sub-sections.
- Configure whether the TOC is fully expanded by default in the Profile settings.
- Enter a page number in the page navigation field and tap Go to jump directly to that page.
2.2 Drawing Tools
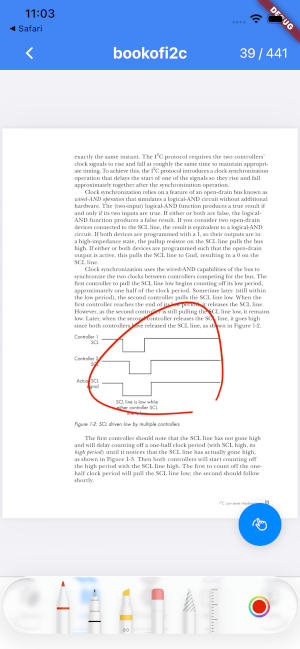
To annotate or mark up a document, tap the round icon in the lower-right corner.
The drawing toolbar includes commonly used annotation tools such as:
- Pen
- Highlighter
- Eraser
- Selection tool
The drawing tools are identical to those available in the Notes tab and are described in greater detail there.
3. Translation (Third Tab)
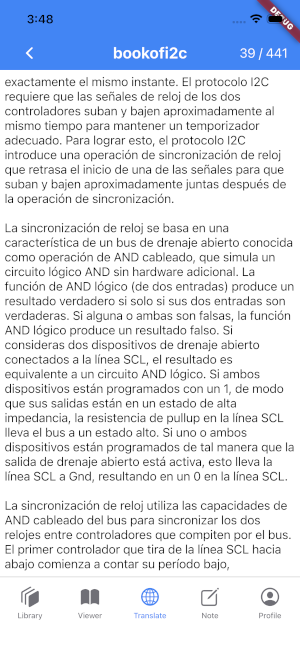
To view the page currently displayed in the viewer in another language, select the Translation tab.
Since translation is a supplementary feature for documents, it works based on the page currently displayed in the viewer. Translation is performed one page at a time, so if you want to translate a different page, first navigate to the desired page in the viewer and then run the translation again.
3.1. Key Point Summary
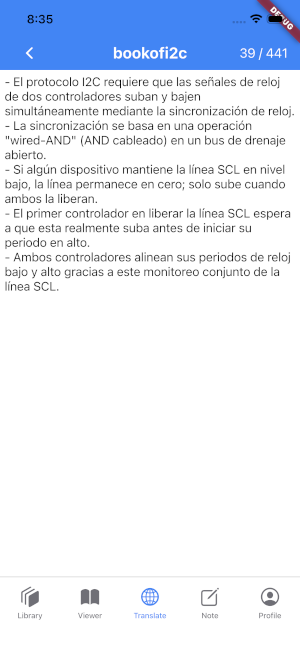
The Key Point Summary feature is useful when you want to quickly understand the main content of a page.
To generate a summary, press and hold the Translation tab icon. A "Key Point Summary" button will appear.
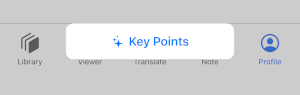
Select Key Point Summary to display a summarized version of the page.
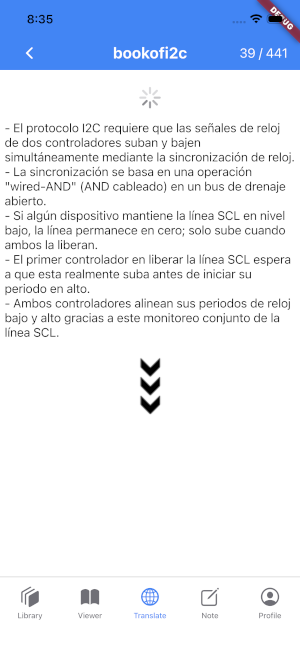
To view the translated content, pull down on the screen to refresh the page. The translated text will then be displayed.
4. Notes (Fourth Tab)
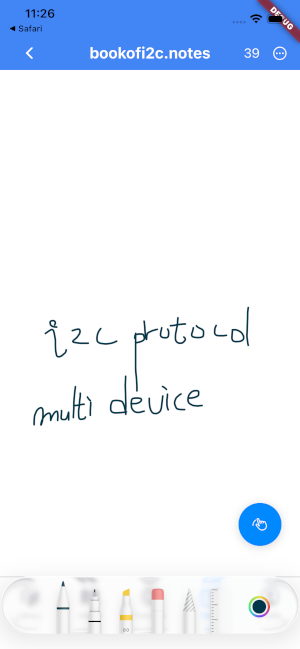
The Notes screen allows you to create notes that correspond to document pages or independent notes unrelated to any document.
- On iPad, notes can be written using Apple Pencil or other styluses.
- On iPhone, notes can be written using touch input.
4.1 Add / Delete Pages
Select the menu expansion icon on the right side of the navigation bar.

Two additional icons appear:
- Add Page
- Delete Page

When adding a page:
- A new page is inserted after the current page.
- If a note page already exists at that position, the app navigates to that page instead of creating a duplicate.
4.2 Drawing Tools
Tap the round pen-shaped icon in the lower-right corner of the screen.
The same drawing toolbar used in the Viewer appears, and the icon changes to a hand symbol.
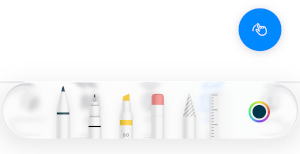
From left to right, the available tools are:
- Pressure-sensitive pen (line width varies with drawing speed)
- Fixed-width pen
- Highlighter
- Eraser
- Selection tool
- Ruler
- Color palette
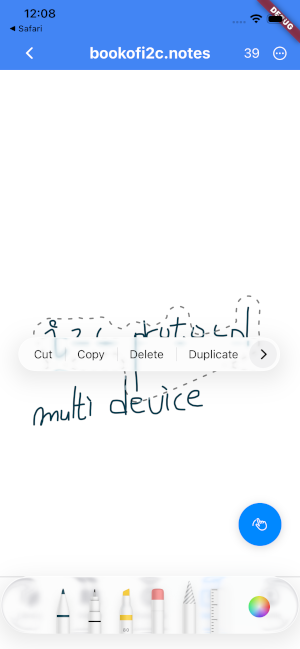
If you need to modify existing content, use the Eraser or Selection Tool. After selecting content, you can perform actions such as:
- Cut
- Copy
- Delete
- Duplicate
5. Profile (Fifth Tab)
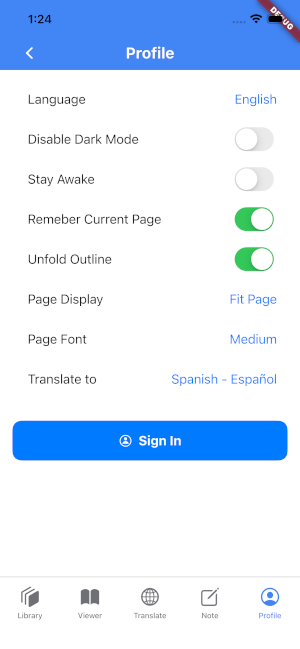
The Profile tab allows you to customize the behavior of the Notra app.
Common settings include:
- Changing the application language
- Choosing the target language used for document translation
- Preventing the device from sleeping while reading documents
- Using Light Mode instead of Dark Mode during nighttime when working in bright environments
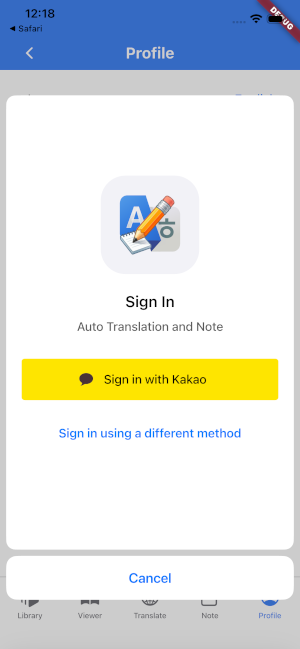
5.1 Sign In
Instead of providing its own username/password system, Notra supports authentication through existing accounts such as:
- Apple
- Kakao
- Naver
This approach makes sign-in more convenient and secure compared to traditional email-based authentication.
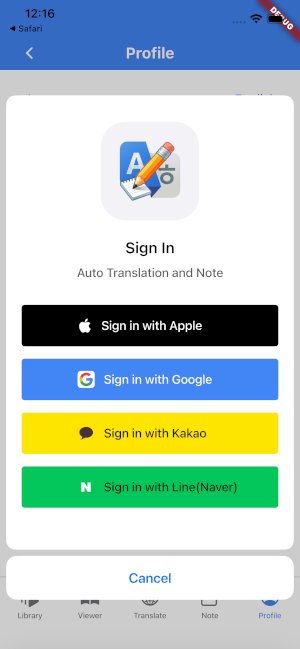
Notra remembers the most recently used sign-in method and displays it prominently for faster access during future sign-ins.